Wavetables
Wavetables are user-defined oscillator. They traditionnaly consist of a single, user-drawn, rapidly looping waveform that repeats at the freqency of the playing note.
While some software represent them as smooth curve, KiraStudio represent them as simple series of values spaced evenly in time.
There a multiple generator using wavetables, and all of them use the same editor. Not all generator types will allow the same flexibility. Some may allow resizing the table, changing the bit-depth, cycling through multiple waveforms, etc. Obviously the generators emulating existing hardware will mimic the limitations of said hardware.
The table below list all the generators using wavetables and their capabilities.
| Generator | Wavetable Size | Bit Depth | Multi-Wave Cycling |
|---|---|---|---|
| Generic Wavetable | Configurable 4 to 256 | Configurable 4 to 8 | Yes |
| NES Namco 163 | Configurable 4 to 240 | Fixed 4-Bit | Yes |
| NES FDS | Fixed at 64 | Fixed 6-Bit | Yes |
| Game Boy Wave | Fixed at 32 | Fixed 4-Bit | No |
Wavetable Editor
The wave table editor can be opened by pressing the "Edit Wavetable..." button on any generator listed above.
The basic operations (drawing values, selection, etc.) are extremely similar to the sequence editor so we will avoid repeating them here and focus on what is unique to the wave table editor.
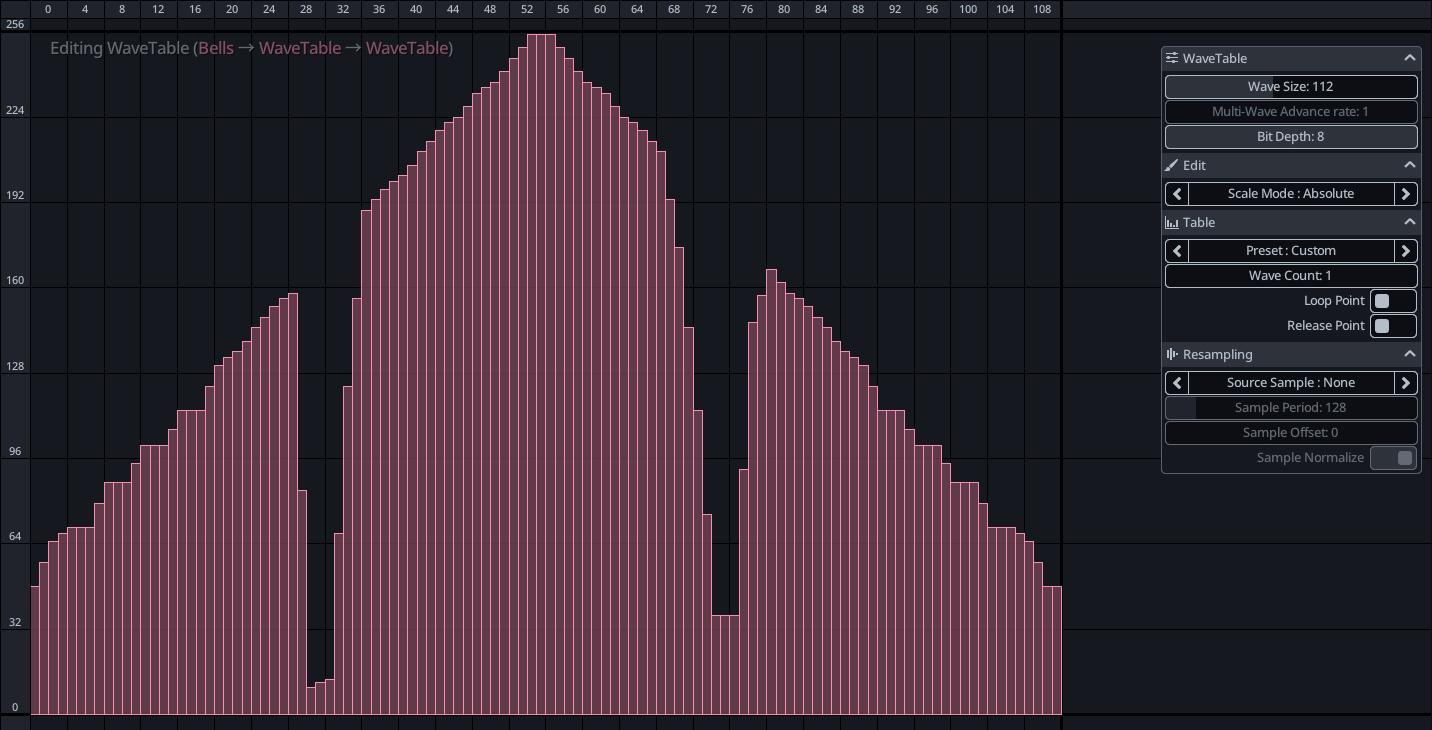
The floating toolbar in the top-right corner contains general parameters of the wavetable:
- Wave Size : Number of entries in the wavetable, higher counts give more resolution
- Bit-Depth : The bit depth affect the precision of each value in the wavetable. At 4-bit you only get 16 values to choose from, while at 8 bit you get 256. Lower bit depths can sound more retro.
- Preset : Choose from one of the built-in preset, some are designed with multi-wave in mind.
Multi-Wave Cycling
Multi-wave cycling is the idea of periodially changing to an entirely different waveform, allowing the sound to evolve with time. Some applications represents this as a "stack" of waveforms that you can choose from, KiraStudio places them contiguously next to each other on the X axis of the editor.
Wavetables using multiple waveforms can also optionally have a loop and release point. The release point is the waveform to jump to when a note is released and the loop point is the waveform to jump to when going past the last waveform, or when going past the release point (if any).
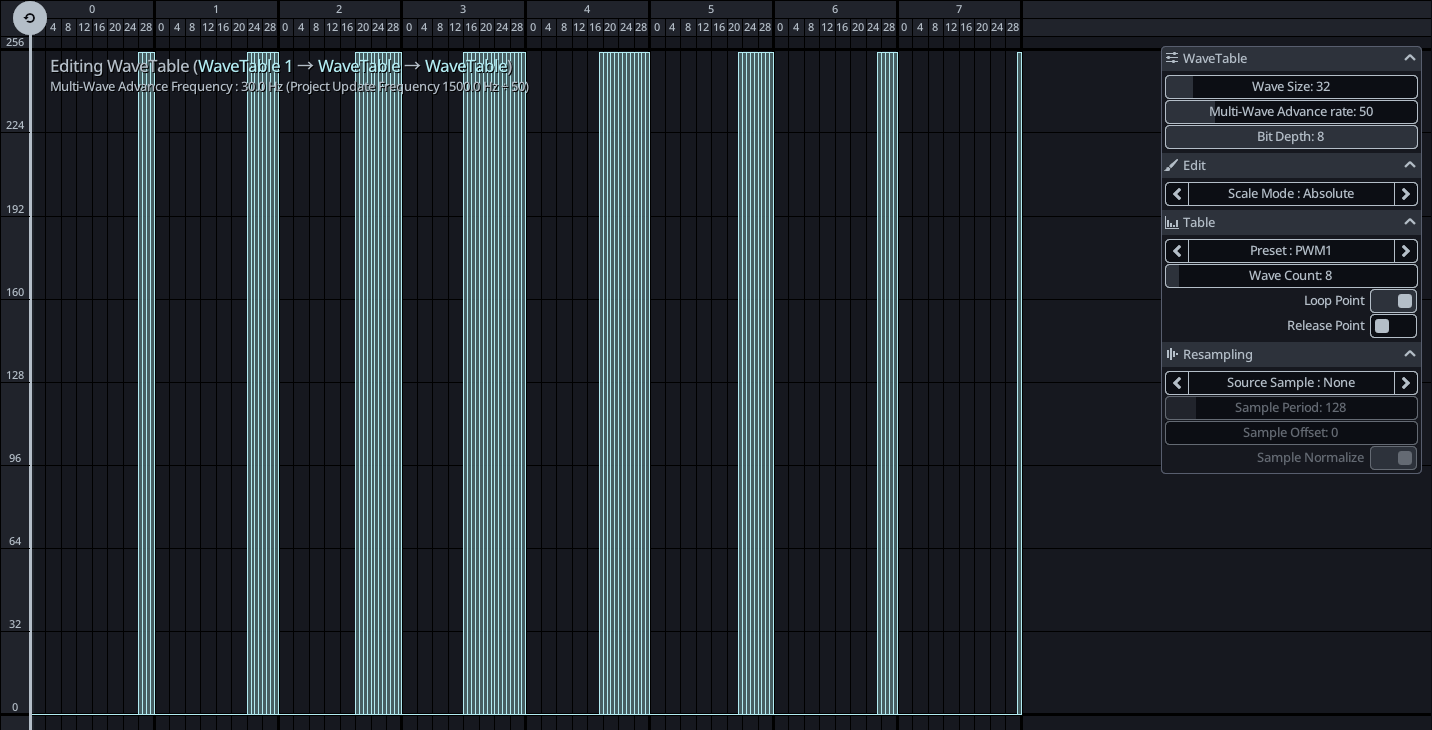
In the example above, 8 waveforms are used to create a square wave with Pulse-Width Modulation that advances to the next waveform every 1/30th of a second. Note the loop point on the left side.
Here are a breakdown of the parameters in the floating toolbar that relates to multi-wave cycling:
- Multi-Wave Advance Rate : Rate at which we advance to the next waveform, as a multiple of the project frequency. When cycling through multiple waveforms, project frequency divided by this number, will give you the rate at which the application will jump to the next waveform. For example, if the project update rate is at the default of 1500 Hz and the Advance Rate is 25, the app will skip to the next waveform 1500 / 25 = 60 times per seconds.
- Wave Count : Number of waves to cycle through, can be used to animate the waveform. This will be covered in the next section.
- Loop Point : Allows setting a loop point in the wavetable, must be at wave boundaries.
- Release Point : Allows setting a release point in the wavetable, must be at wave boundaries.
Resampling
While wavetables are traditionally hand drawn, you can convert a sample (ex: a wav file) to a wave table. We call this process resampling.
To use a sample for resample, it first needs to be loaded on to the instrument, as explained in the samples section of the documentation. Once a sample is loaded, it will be selectable as the Source Sample in the floating toolbar.
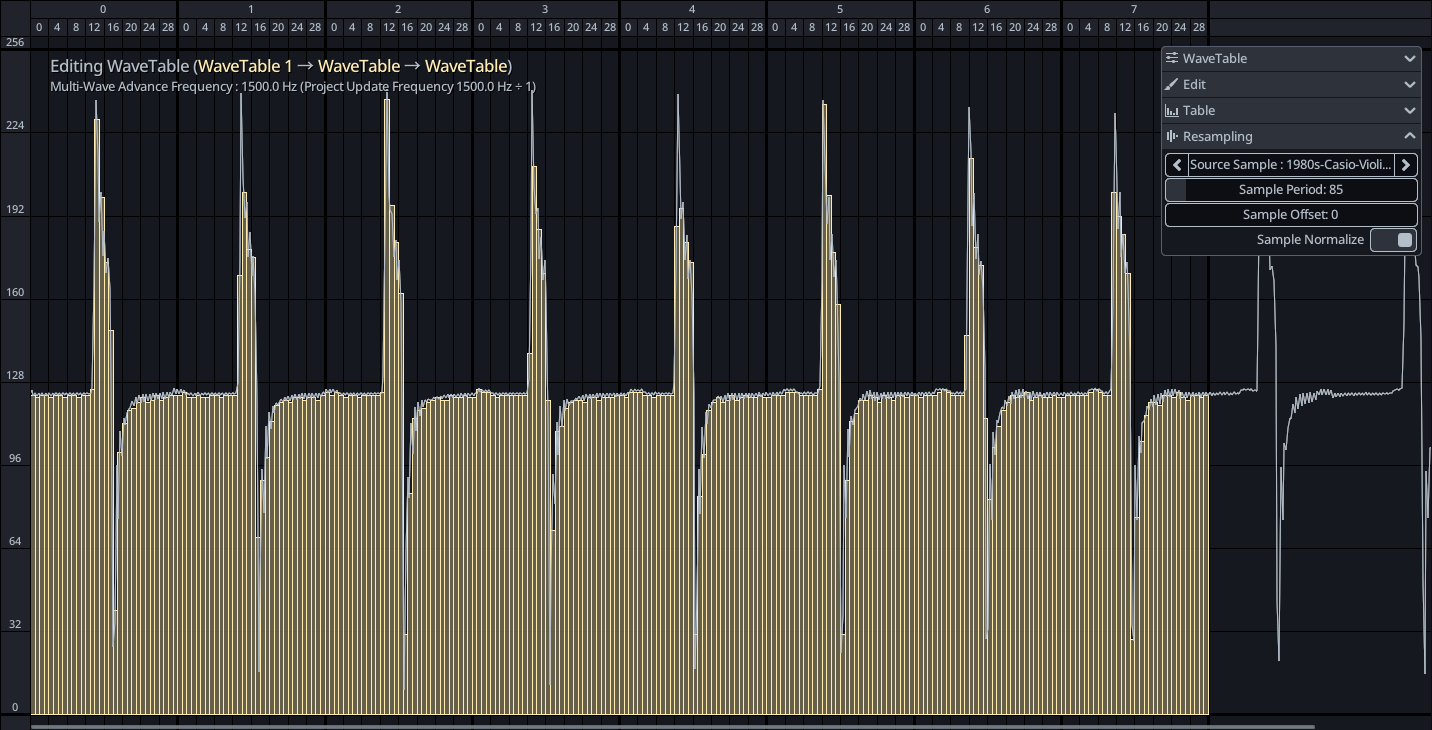
When selected, you need to adjust the Sample Offset and Sample Period to align the sample to your wavetable. Typically you will want to extra a neat single loop of the sample. When using multiple waveforms, you will want each waveform to be a single oscillation of an evolving sound.
The Sample Period is the number of sample in a single oscillation of the waveform, and the Sample Offset is simply the index of the first sample to consider for resampling. If you know the root note of your sample and the sample rate, you can calculate the sample period by dividing the sample rate by the frequency of the root note.
In the example above, a 44.1 kHz violin sample playing a C5 note was loaded and resampled into an 8-waveform wavetable. The user eyeballed 85 samples by oscillation, 44100 / 85 = 518.82 is very close to a C5 (523.25 Hz) but it could have been calculated more accurately by doing 44100 / 523.25 = 84.28.